- All
- Product Name
- Product Keyword
- Product Model
- Product Summary
- Product Description
- Multi Field Search
Please Choose Your Language

Views: 0 Author: Site Editor Publish Time: 2026-07-27 Origin: Site


Frequent tripping, premature shoulder fatigue, and inconsistent timing plague many conditioning sessions. Athletes often blame their cardiovascular fitness or coordination when these issues arise. The root cause usually lies in the equipment setup itself. Incorrect cable length fundamentally alters your jumping biomechanics. Using improperly sized fitness accessories forces your body to compensate with poor posture. You might flare your elbows or bound excessively high just to clear the cable. These mechanical flaws negate the intended metabolic and muscular benefits of this classic strength training equipment.
Fixing these errors requires a systematic framework for evaluating, measuring, and adjusting your cable length. This process relies on static benchmarks, dynamic testing, and your specific training modalities. By dialing in the exact fit, you eliminate energy leaks and maximize your workout efficiency.
Static measurement (the "step test") is only a baseline; true optimization requires dynamic testing based on individual arm length and hand placement.
Beginners require longer clearance margins to develop timing, while advanced athletes benefit from shorter ropes to maximize rotational speed and minimize energy leakages.
Adjustment mechanisms vary widely across strength training equipment; understanding the trade-offs between tool-free locks, crimps, and permanent cable cuts prevents ruining the equipment.
Form dictates fit: Tucked elbows and minimal wrist rotation require a shorter rope, whereas flared arms artificially shorten the effective length of the rope.
An efficient jump looks effortless. It features minimal vertical displacement, clearing the floor by only one or two inches. The athlete maintains a tight core and relaxed shoulders. Rotation is driven entirely by the wrists, not the arms. Achieving this state depends entirely on precise equipment sizing. When the cable matches your body mechanics, you conserve energy and maintain a steady rhythm.
Excess length initiates a negative biomechanical cascade. A long cable drags heavily on the ground, creating friction. To prevent this drag, the jumper instinctively flares their arms outward. This wide arm position leads to rapid anterior deltoid fatigue. Rotation speeds become sluggish and difficult to maintain. The cable bounces off the floor rather than skimming it cleanly, disrupting your timing.
Beginners frequently compound this error. They jump excessively high to clear the sloppy cable arc. This high vertical bounding increases joint impact significantly. It wastes massive amounts of energy, causing early exhaustion. You cannot sustain a high-intensity workout when every jump requires maximum vertical effort.
A short cable forces completely different, yet equally harmful, compensation mechanisms. Jumpers will pike at the hips to artificially lower their height. They might tuck their knees excessively toward their chest. Many adopt a crouched, hunched posture just to let the cable pass overhead. These awkward positions strain the lower back and ruin spinal alignment.
This forced posture also increases the risk of impact injuries. Athletes land heavily from these unnatural bounding positions. The feet hit the ground with excessive force rather than absorbing the impact softly. Proper mechanics become impossible when you constantly dodge a shrinking cable arc.
Industry-standard starting points provide a reliable baseline for sizing. You must establish this static measurement before introducing dynamic variables. This initial step ensures you are close to the optimal range.
The step test remains the most accessible sizing method. Stand on the exact center of the cable. Pull the handles straight up along your torso. Foot placement changes the outcome slightly.
Single-foot step test: Best for general use. It provides a standard, highly accurate baseline length for most athletes.
Double-foot step test: Pulls more slack from the cable. This creates a tighter baseline length preferred by speed and competitive jumpers.
Target benchmarks matter greatly here. For most users, the base of the handles should terminate just below the pectoral line. Exclude the cable connection point from this measurement. This height provides adequate clearance without excessive drag.
You must ignore the outdated armpit height myth. Measuring to the armpits results in a cable that is two to four inches too long. This excess length ruins efficient mechanics and encourages the arm flaring mentioned earlier.
Skill level dictates your ideal clearance margin. Beginners should follow the slightly too long rule. It is always better to start with a slightly longer cable than a short one. This extra length provides a larger arc and a wider margin of error. You gain more time to synchronize your jump with the cable's apex. Master your timing before committing to permanent adjustments.
Advanced athletes require a different baseline. They should lower the handles to the lower ribcage. This shorter length tightens the arc significantly. It demands precise timing and flawless technique. It drastically reduces aerodynamic drag and shoulder fatigue during long sets.
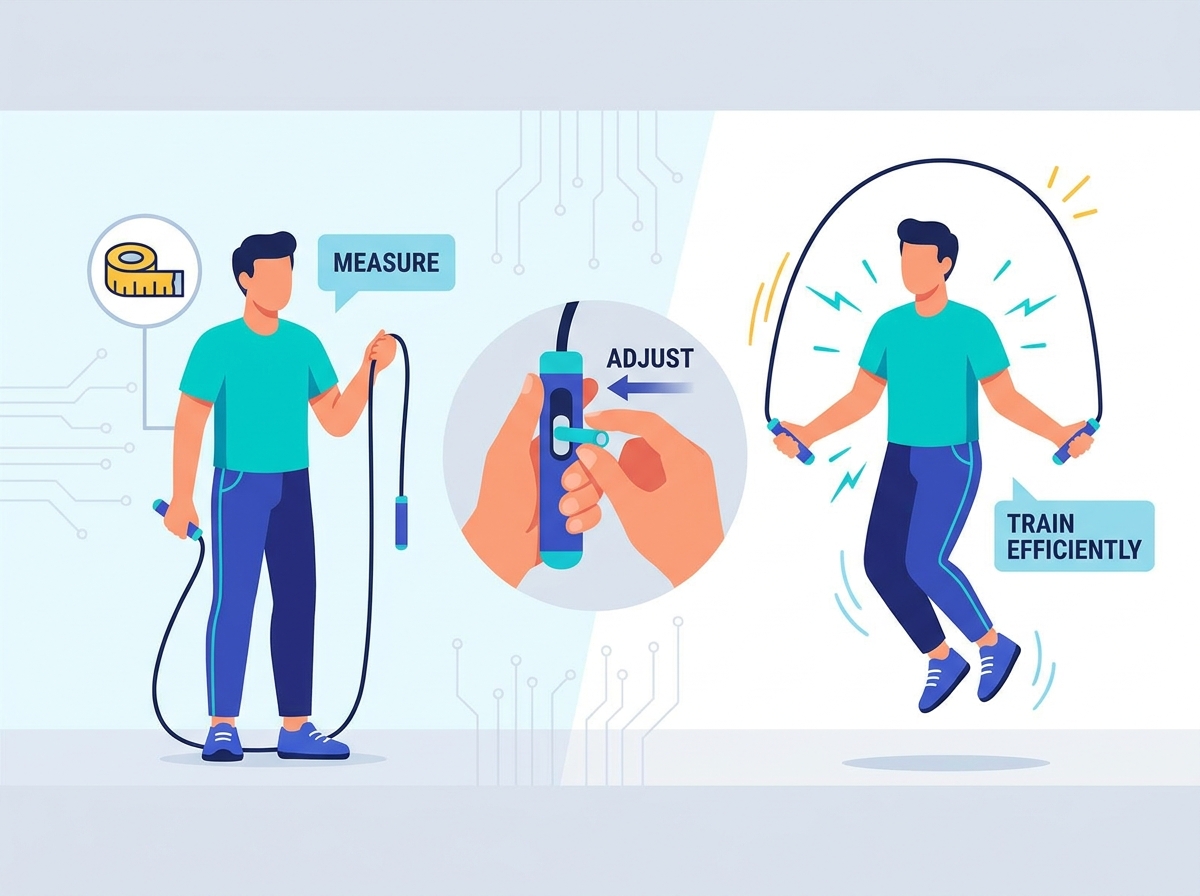
Different fitness goals require distinct equipment configurations. You must evaluate how specific features translate to training outcomes. Your chosen modality dictates the final adjustments.
Double unders require maximum RPM with minimal wrist displacement. Efficiency is paramount for stringing together large sets. The sizing rule here is strict. The cable must be as short as your form allows. Clearance over the head should measure no more than four to six inches. This minimizes the travel distance of the cable, allowing for rapid successive rotations.
Freestyle movements demand a different approach. Crossovers and mic releases require additional slack. The arms must cross the midline of the body smoothly. If the cable is too tight, it will catch on your shoulders or heels during complex maneuvers. Add one to two inches to your standard static measurement. This extra length accommodates these complex spatial maneuvers safely.
Weighted cables present unique physical demands. Cables ranging from a quarter pound to two pounds generate significant centrifugal force. When using a heavy jump rope, control becomes your primary concern. A slightly shorter cable is often necessary here. The reduced length helps maintain control and prevents the heavy momentum from pulling you off balance.
Static sizing assumes perfect form. Dynamic testing bridges the gap between theory and reality. You must evaluate the equipment while in motion to mitigate implementation risks.
Assess your natural resting hand position during a set. Hands often drift away from the hips as fatigue sets in. This flaring decreases the effective length of the cable. You will start tripping even if the static measurement was perfect. Correct your form first. Tuck your elbows back and keep them tight to the ribs. Keep your shoulders still. Fix these mechanical flaws before permanently adjusting the cable length.
Jumping on the exact same spot is necessary for consistency. Many athletes drift forward, backward, or side-to-side during a set. This spatial drift artificially alters the cable's path. It mimics the feel of an improperly sized cable. Mark a spot on the floor. Focus on landing exactly on that mark for fifty repetitions. If you cannot maintain position, work on your vertical bounding mechanics.
Listen to your equipment to gauge its fit. Jump at a steady cadence and listen to the sound of the cable hitting the floor. The evaluation criteria are straightforward.
A light, rhythmic tick directly under the toes indicates optimal length.
A heavy, slapping sound indicates the cable is too long and dragging.
No sound, combined with frequent toe catches, indicates the cable is too short.
Assessing the durability and usability of sizing hardware is essential. Different mechanisms offer distinct advantages and drawbacks. Evaluate these factors before making a purchase decision.
Mechanism Type | Common Application | Pros | Cons |
|---|---|---|---|
Thumb-Screw / Collar | Speed Ropes, Wire Cables | Highly adjustable for micro-tuning | Prone to slipping if not tightened properly |
Snap-Lock | PVC Ropes, Beaded Ropes | Fast and easy to adjust without tools | Plastic components may degrade over time |
Crimp Ends | Fixed-Length Cables | Extremely secure, no slipping | Permanent; cannot be readjusted once set |
Thumb-screw and collar systems dominate the speed rope market. They are highly adjustable, allowing for precise micro-tuning. They are prone to slipping or stripping. You must tighten them firmly with a screwdriver to ensure they hold during intense workouts. Snap-lock systems are common on PVC cables. They are incredibly easy to adjust on the fly. The downside is durability. Plastic snap-locks may degrade over time with frequent changes and heavy use.
Cutting a wire cable too early is a costly mistake. You cannot undo a permanent alteration. Follow a strict best practice protocol. Use the adjustable collars to test a new length for at least three to five training sessions. Verify the length under different fatigue levels. Only use wire cutters to remove excess cable once the length is definitively proven to work. Always leave a one-inch buffer for future micro-adjustments. Ensure you use rubber end-caps to cover the cut wire and prevent fraying.
Optimal cable length is never a static number based purely on height. It represents a dynamic intersection of biomechanics, skill level, and specific training goals. A perfectly sized cable minimizes fatigue and maximizes rotational efficiency.
Execute the static step test today to establish your baseline measurement.
Record a video of your jumping form from the front and side to identify elbow flare or spatial drift.
Make micro-adjustments in half-inch increments until you achieve a consistent, rhythmic tick on the floor.
Test the new length for at least three full conditioning sessions before making any permanent cuts to the cable.
A: No. Measuring to the armpits is an outdated method. It results in a cable that is two to four inches too long. This excess length causes drag, forces poor posture, and leads to rapid shoulder fatigue. The handles should reach just below your pectoral line.
A: While possible, it is highly inefficient. A long cable forces you to flare your arms outward to prevent dragging. This ruins your biomechanics, slows down your rotation speed, and causes premature muscle fatigue in the shoulders.
A: Stand on the center of the cable with one foot. Pull the handles upward along your torso. The base of the handles should align just below your chest or pectoral line. Adjust slightly based on your skill level and arm length.
A: Tripping often results from dynamic form breakdown rather than static length. If you flare your elbows away from your ribs while jumping, you artificially shorten the cable's effective length. Keep your elbows tucked and wrists close to your hips.
A: Yes, but only after thorough testing. Test the new length using the adjustable collars for three to five sessions. Once confirmed, cut the wire but leave a one-inch buffer for future micro-adjustments. Always apply a rubber end-cap.
A: Yes. Double unders require maximum speed and minimal drag. Athletes typically shorten their cable slightly for double unders compared to basic single unders. The clearance over the head should be minimal, usually around four to six inches.
