- All
- Product Name
- Product Keyword
- Product Model
- Product Summary
- Product Description
- Multi Field Search
Please Choose Your Language

Views: 0 Author: Site Editor Publish Time: 2026-09-22 Origin: Site


Many lifters fundamentally misunderstand their equipment. They assume strapping heavy leather around their waist automatically protects their spine. However, a weightlifting belt is not a passive brace; it is an active feedback tool. Incorrect usage leads to false confidence. It causes reduced core engagement. Ultimately, it increases your injury risk during heavy sets.
Our objective is straightforward. We will define the biomechanical baseline for using a belt safely. We will outline the distinct placement differences between primary compound lifts. We will also provide a reliable framework for evaluating the right belt hardware for your specific lifting goals. We approach this topic from a biomechanics and practical implementation perspective. We focus on maximizing intra-abdominal pressure (IAP) rather than relying on exaggerated performance claims. Mastering these concepts ensures you build genuine strength safely.
Learning how to use a weightlifting belt effectively requires mastering the Valsalva maneuver to create intra-abdominal pressure against the belt.
Belt placement and tightness must be adjusted dynamically; the ideal setup for a weightlifting belt for squats differs from a weightlifting belt for deadlifts.
Hardware matters: Upgrading to a lever lifting belt or investing in a custom weightlifting belt solves specific scalability and consistency issues for advanced lifters.
A belt does not replace baseline core strength; it amplifies it.
Understanding how to use a weightlifting belt starts with internal mechanics. The belt does not support your spine directly. Instead, it functions as a rigid tactile wall. Your core muscles must actively expand 360 degrees against this barrier. This biological mechanism creates a pressurized cylinder in your torso. This pressure stabilizes the lumbar spine under heavy loads. If you do not actively brace against the leather, the belt offers zero benefit.
To generate maximum IAP, you must execute the Valsalva maneuver correctly. Follow these precise steps before initiating your lift:
Inhale deeply into your stomach. Do not breathe into your chest. Your shoulders should never rise during this inhalation phase.
Brace your abdominal wall outward. Push your obliques, lower back, and front abdominals hard against the leather strap.
Hold the pressure tightly. Maintain this solid brace through the entire sticking point of your lift.
Exhale strategically. Release your breath only as you near the final lockout position.
Lifters often buckle their belts too tightly. A painfully tight belt restricts your diaphragm. It prevents you from drawing a sufficient breath. We recommend using the standard 1-inch rule. Put the belt on and leave your abdomen relaxed. You should be able to slide one hand flat between the leather and your stomach. You want enough room to inhale deeply. Once you brace outward, that empty space should vanish completely. If you cannot draw a full breath, loosen the buckle by one notch.
Belt positioning is not universal. The optimal placement changes based on the biomechanical demands of the exercise. You must adapt your setup for different movement patterns.
A proper weightlifting belt for squats requires a very specific orientation. You typically wear it directly over the belly button or slightly higher. The implementation reality is critical here. The belt must sit parallel to the floor. This horizontal alignment supports an upright torso posture. It allows a deep hip crease without the rigid edges biting into your hips or upper thighs. When you hit the bottom of the squat hole, the belt should feel supportive, never painful. If bruising occurs on your hip bones, move the belt up slightly.
Deadlifts require a different strategy. An ideal weightlifting belt for deadlifts is often positioned differently. You usually angle the belt. Wear it slightly lower in the front and higher in the back. This angled implementation reality prevents the thick leather from catching on your lower ribcage. It ensures the gear does not inhibit your starting hip hinge.
Risk mitigation is crucial during your setup. Sometimes a thick belt restricts your ability to reach the bar with a flat back. If this happens, adjust the angle immediately. Alternatively, evaluate your equipment needs. You might require a narrower 3-inch belt for pulling movements.
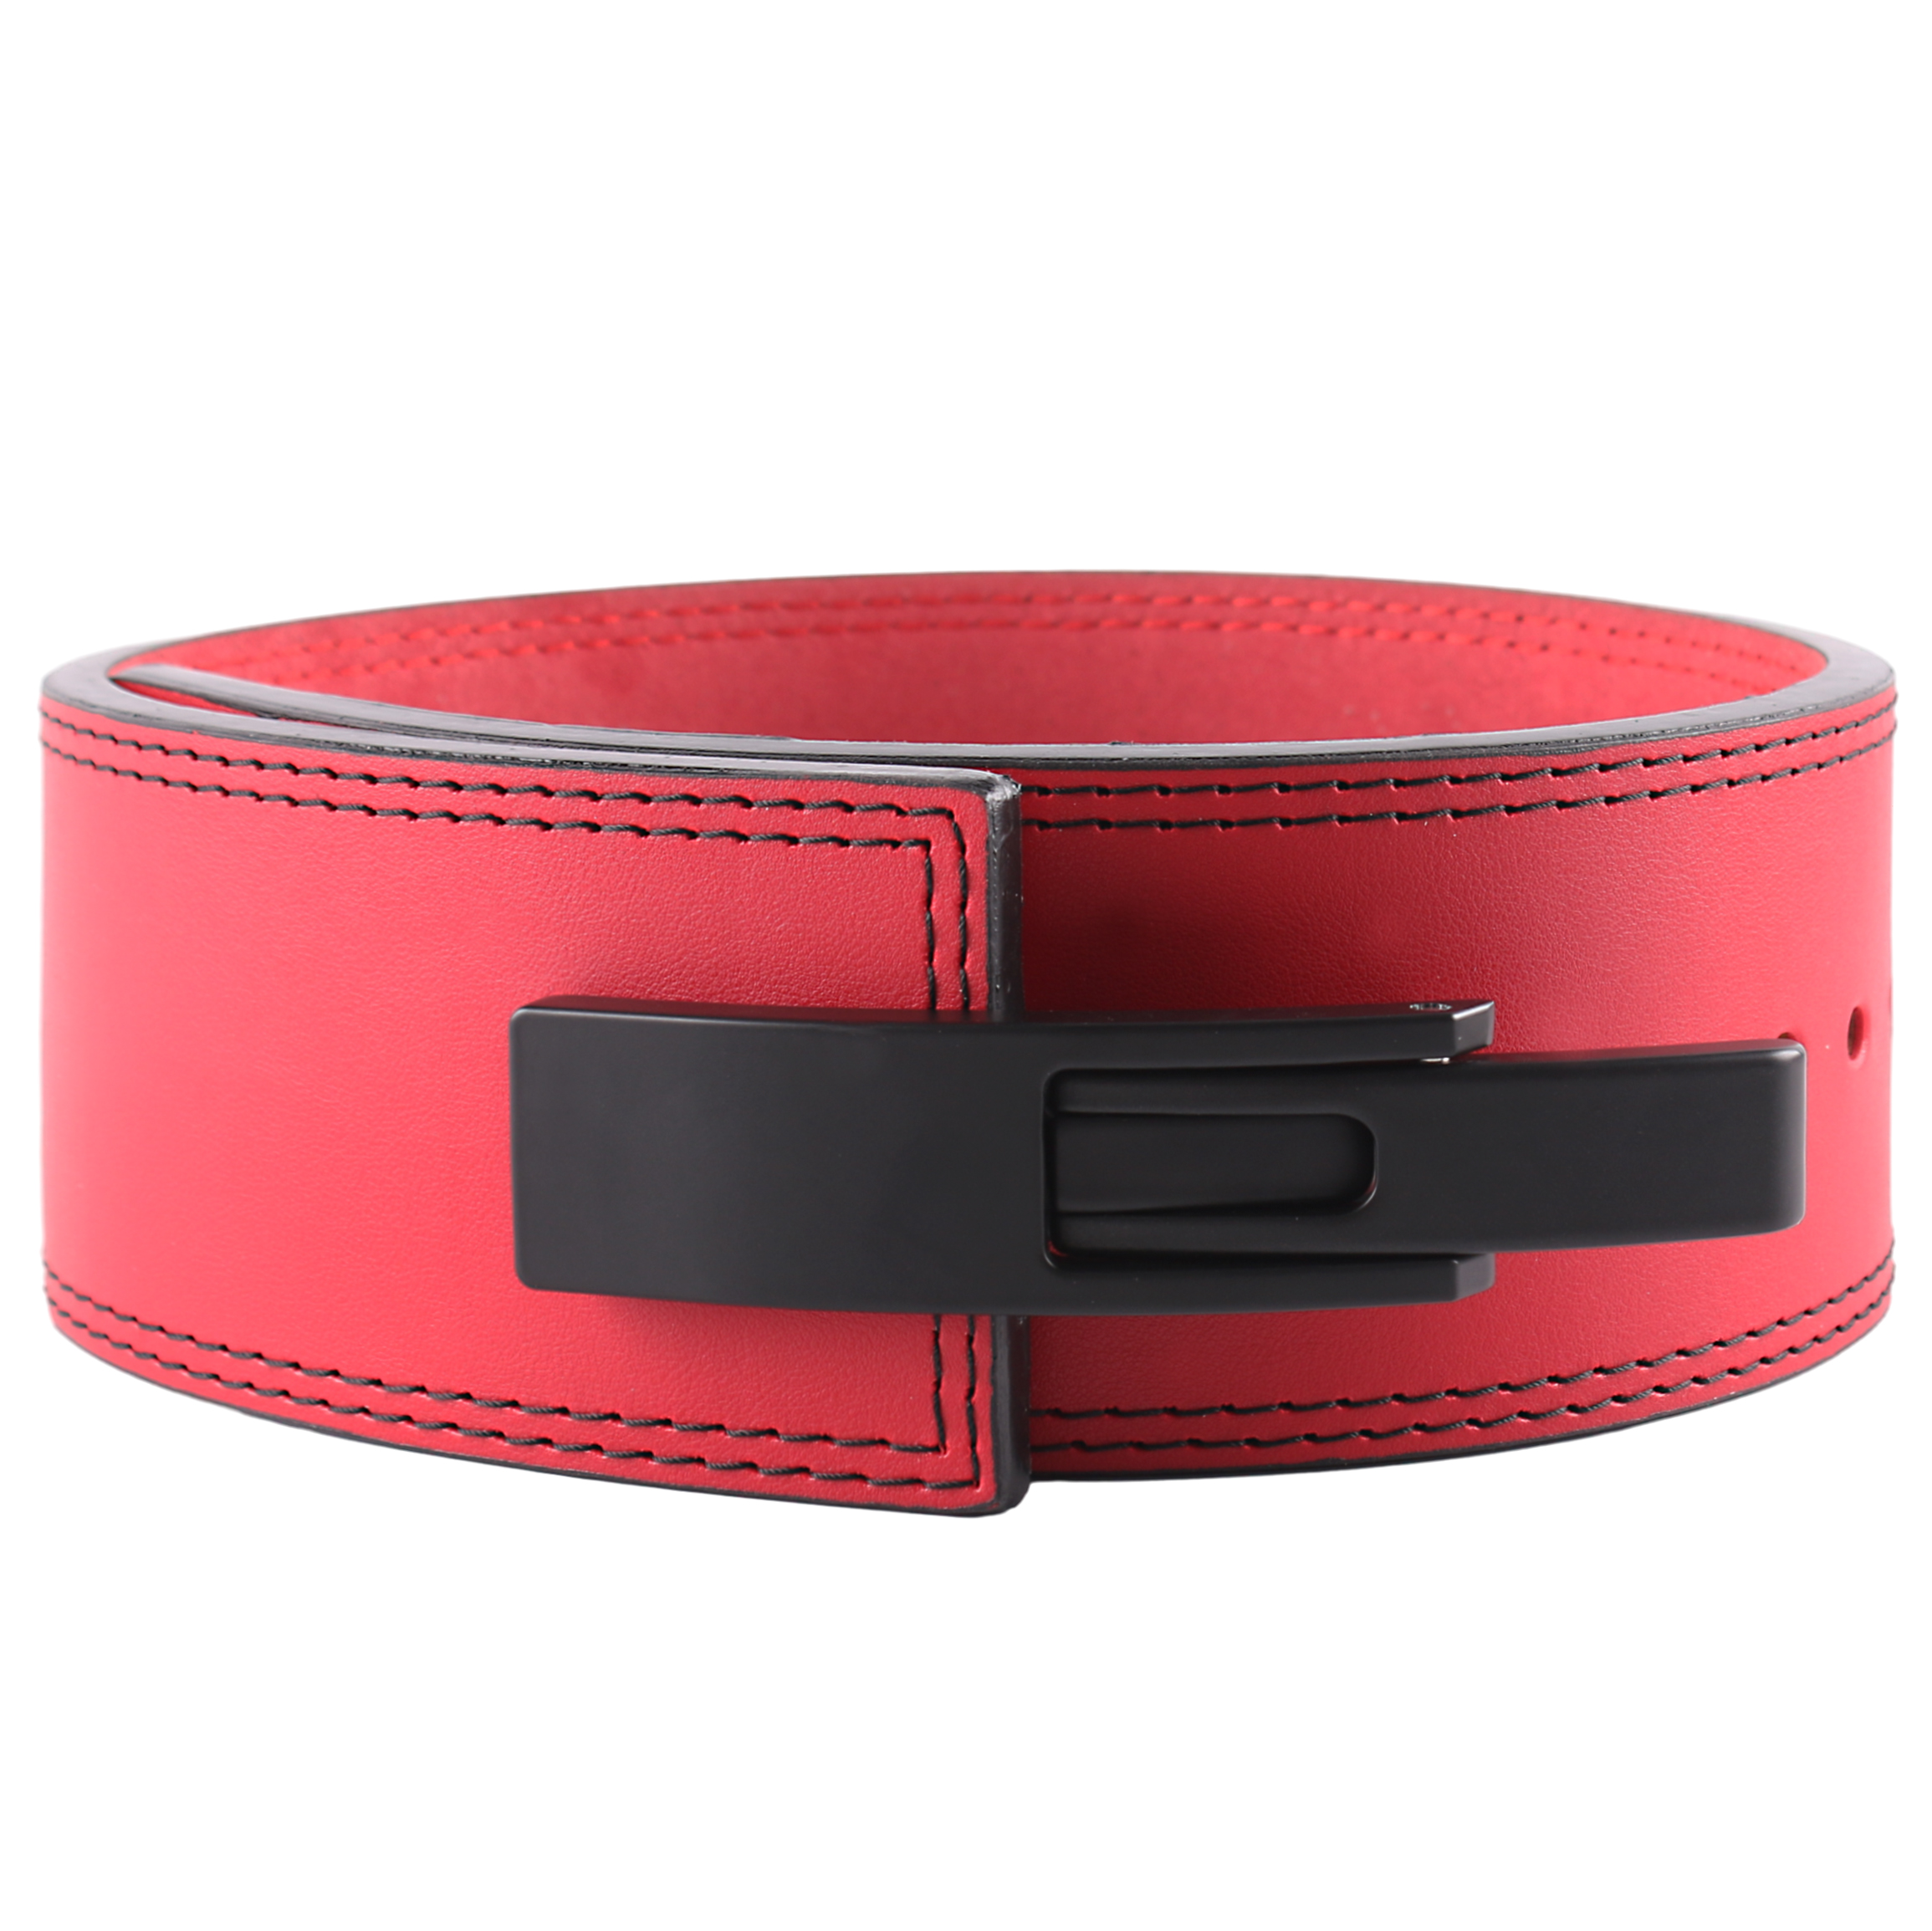
Choosing the right powerlifting belt depends on your training maturity. Equipment varies wildly in fastening mechanisms, thickness, and material quality. You need hardware tailored to your specific programming demands.
A lever lifting belt excels in consistency. It provides an identical tightness level for every single set. It also offers a rapid release mechanism. You simply flick the lever open to save energy between heavy sets. This makes lever belts highly scalable for advanced powerlifters pushing maximum loads.
Conversely, single or double prong belts offer flexibility. They remain the best choice for lifters whose waist size fluctuates frequently. They also suit athletes who prefer different tightness levels for squats versus deadlifts. You can easily adjust a prong belt without needing a screwdriver to relocate hardware.
Thickness dictates rigidity. A 10mm leather belt offers a faster break-in period. It provides excellent versatility for both dynamic and static lifts. A 13mm leather belt offers maximum rigidity for elite-level loads. However, a 13mm model requires a painful break-in period and slightly limits torso mobility.
Nylon and Velcro belts serve a different purpose entirely. They are sufficient for Olympic weightlifting. They work well for dynamic functional fitness movements. However, they lack the unyielding rigid barrier necessary for generating maximal IAP in heavy powerlifting.
Belt Type | Fastening Style | Best Used For | Key Advantage |
|---|---|---|---|
10mm Prong | Single/Double Buckle | General strength training | Easy adjustments across varying lifts |
10mm Lever | Metal Lever Mechanism | Heavy compound lifting | Consistent tightness, quick release |
13mm Lever | Metal Lever Mechanism | Elite powerlifting loads | Maximum torso rigidity and support |
Nylon/Velcro | Hook and Loop Fastener | Olympic weightlifting | High mobility, comfortable fit |
Even the best equipment fails if your execution is poor. Many athletes sabotage their progress through improper implementation. Avoid these frequent missteps to ensure long-term core development.
Do not wear your belt for warm-up sets. Avoid using it for loads under 70% of your 1-rep max (1RM). Using external support too early stunts your natural core development. Your abdominal muscles need adequate unbelted stimulus to grow stronger. Save the heavy leather for your working sets.
We must state a transparent assumption here. Belts do not cure pre-existing spinal injuries. They absolutely do not correct poor lifting form. If you exhibit a "butt wink" during squats, a belt will not fix it. If you suffer from thoracic rounding during deadlifts, leather will not straighten your spine. You must address mobility issues and technique flaws directly.
This remains the most common beginner error. Lifters often suck their stomach in as they buckle up. Drawing your navel inward pulls your core away from the leather. This negates the purpose of the equipment entirely. You must actively push your stomach outward against the strap to create pressure.
Eventually, cheap sporting goods store equipment will hinder your progress. You must learn how to identify failing gear. You also need to know what constitutes professional-grade manufacturing.
Pay attention to physical indicators of failure. If Velcro pops open under heavy pressure, discard the belt. If pliable, cheap leather offers zero tactile feedback, replace it. If the gear shifts constantly during your lift, it is time for an upgrade. Unreliable equipment shatters confidence under the barbell.
Finding a reputable weightlifting belt manufacturer requires diligence. Look for specific quality markers before purchasing.
Material Purity: Demand genuine top-grain or sole leather. Avoid belts built from cheap suede fillers glued together.
Competitive Compliance: Check international federation approved gear lists. Look for IPF or USAPL approvals if you ever plan to compete.
Hardware Warranties: Assess the buckle or lever quality. Cheap cast alloy levers are highly prone to cracking under extreme tension. Seek brands offering lifetime hardware guarantees.
Advanced lifters often turn to bespoke solutions. A custom weightlifting belt solves highly specific biomechanical issues. It is tailored exactly to your unique torso length. This prevents chronic rib bruising or hip pinching. Manufacturers map the hole spacing precisely to your specific braced circumference. This guarantees a perfect fit. The long-term ROI is exceptional. A properly sourced, high-quality custom belt often outlasts the lifter's entire training career.
Proper equipment usage fundamentally connects to biomechanical technique. A belt only amplifies the intra-abdominal pressure you actively create. It demands disciplined breathing and forceful core expansion. Mastering how to deploy this tool unlocks higher training volumes. It ensures safer, more stable maximal lifts over your career.
Take action on these principles during your next session. Measure your torso correctly to ensure adequate rib clearance. Choose between a lever or prong system based on how frequently you transition between different lifts. Finally, practice the Valsalva maneuver relentlessly. Test your new bracing mechanics on your next 75% load session to feel the distinct difference in stability.
A: No. You should reserve your belt for heavy compound movements like squats, deadlifts, and overhead presses. Skip the belt for isolation exercises or machine work. Your core needs time to develop independently under lighter or supported loads.
A: A thick 10mm or 13mm leather belt typically takes 2 to 4 weeks of heavy use to break in. You can accelerate this timeline manually. Try tightly rolling the belt back and forth in opposite directions to soften the stiff leather fibers.
A: Yes, you can use the same equipment. However, you must adjust the placement. Deadlifts often require angling the belt lower in the front. Some lifters prefer a tapered or narrower belt for pulling to avoid restricting their starting hip hinge.
A: The difference relates entirely to biomechanical fit and rib clearance. A standard 4-inch belt maximizes support but requires a longer torso. A 3-inch belt fits shorter torsos perfectly. It prevents the rigid leather from painfully bruising your ribs or hip bones during deep flexion.
